This test is usually performed on butt welding to check the integrity of the joint. The ultrasound beam that comes out of the probe base, penetrates the welding material and if it runs into cavities (reflectors), it sends the beam back to the receiver. The echo generated provides information on the position and magnitude of the discontinuity.
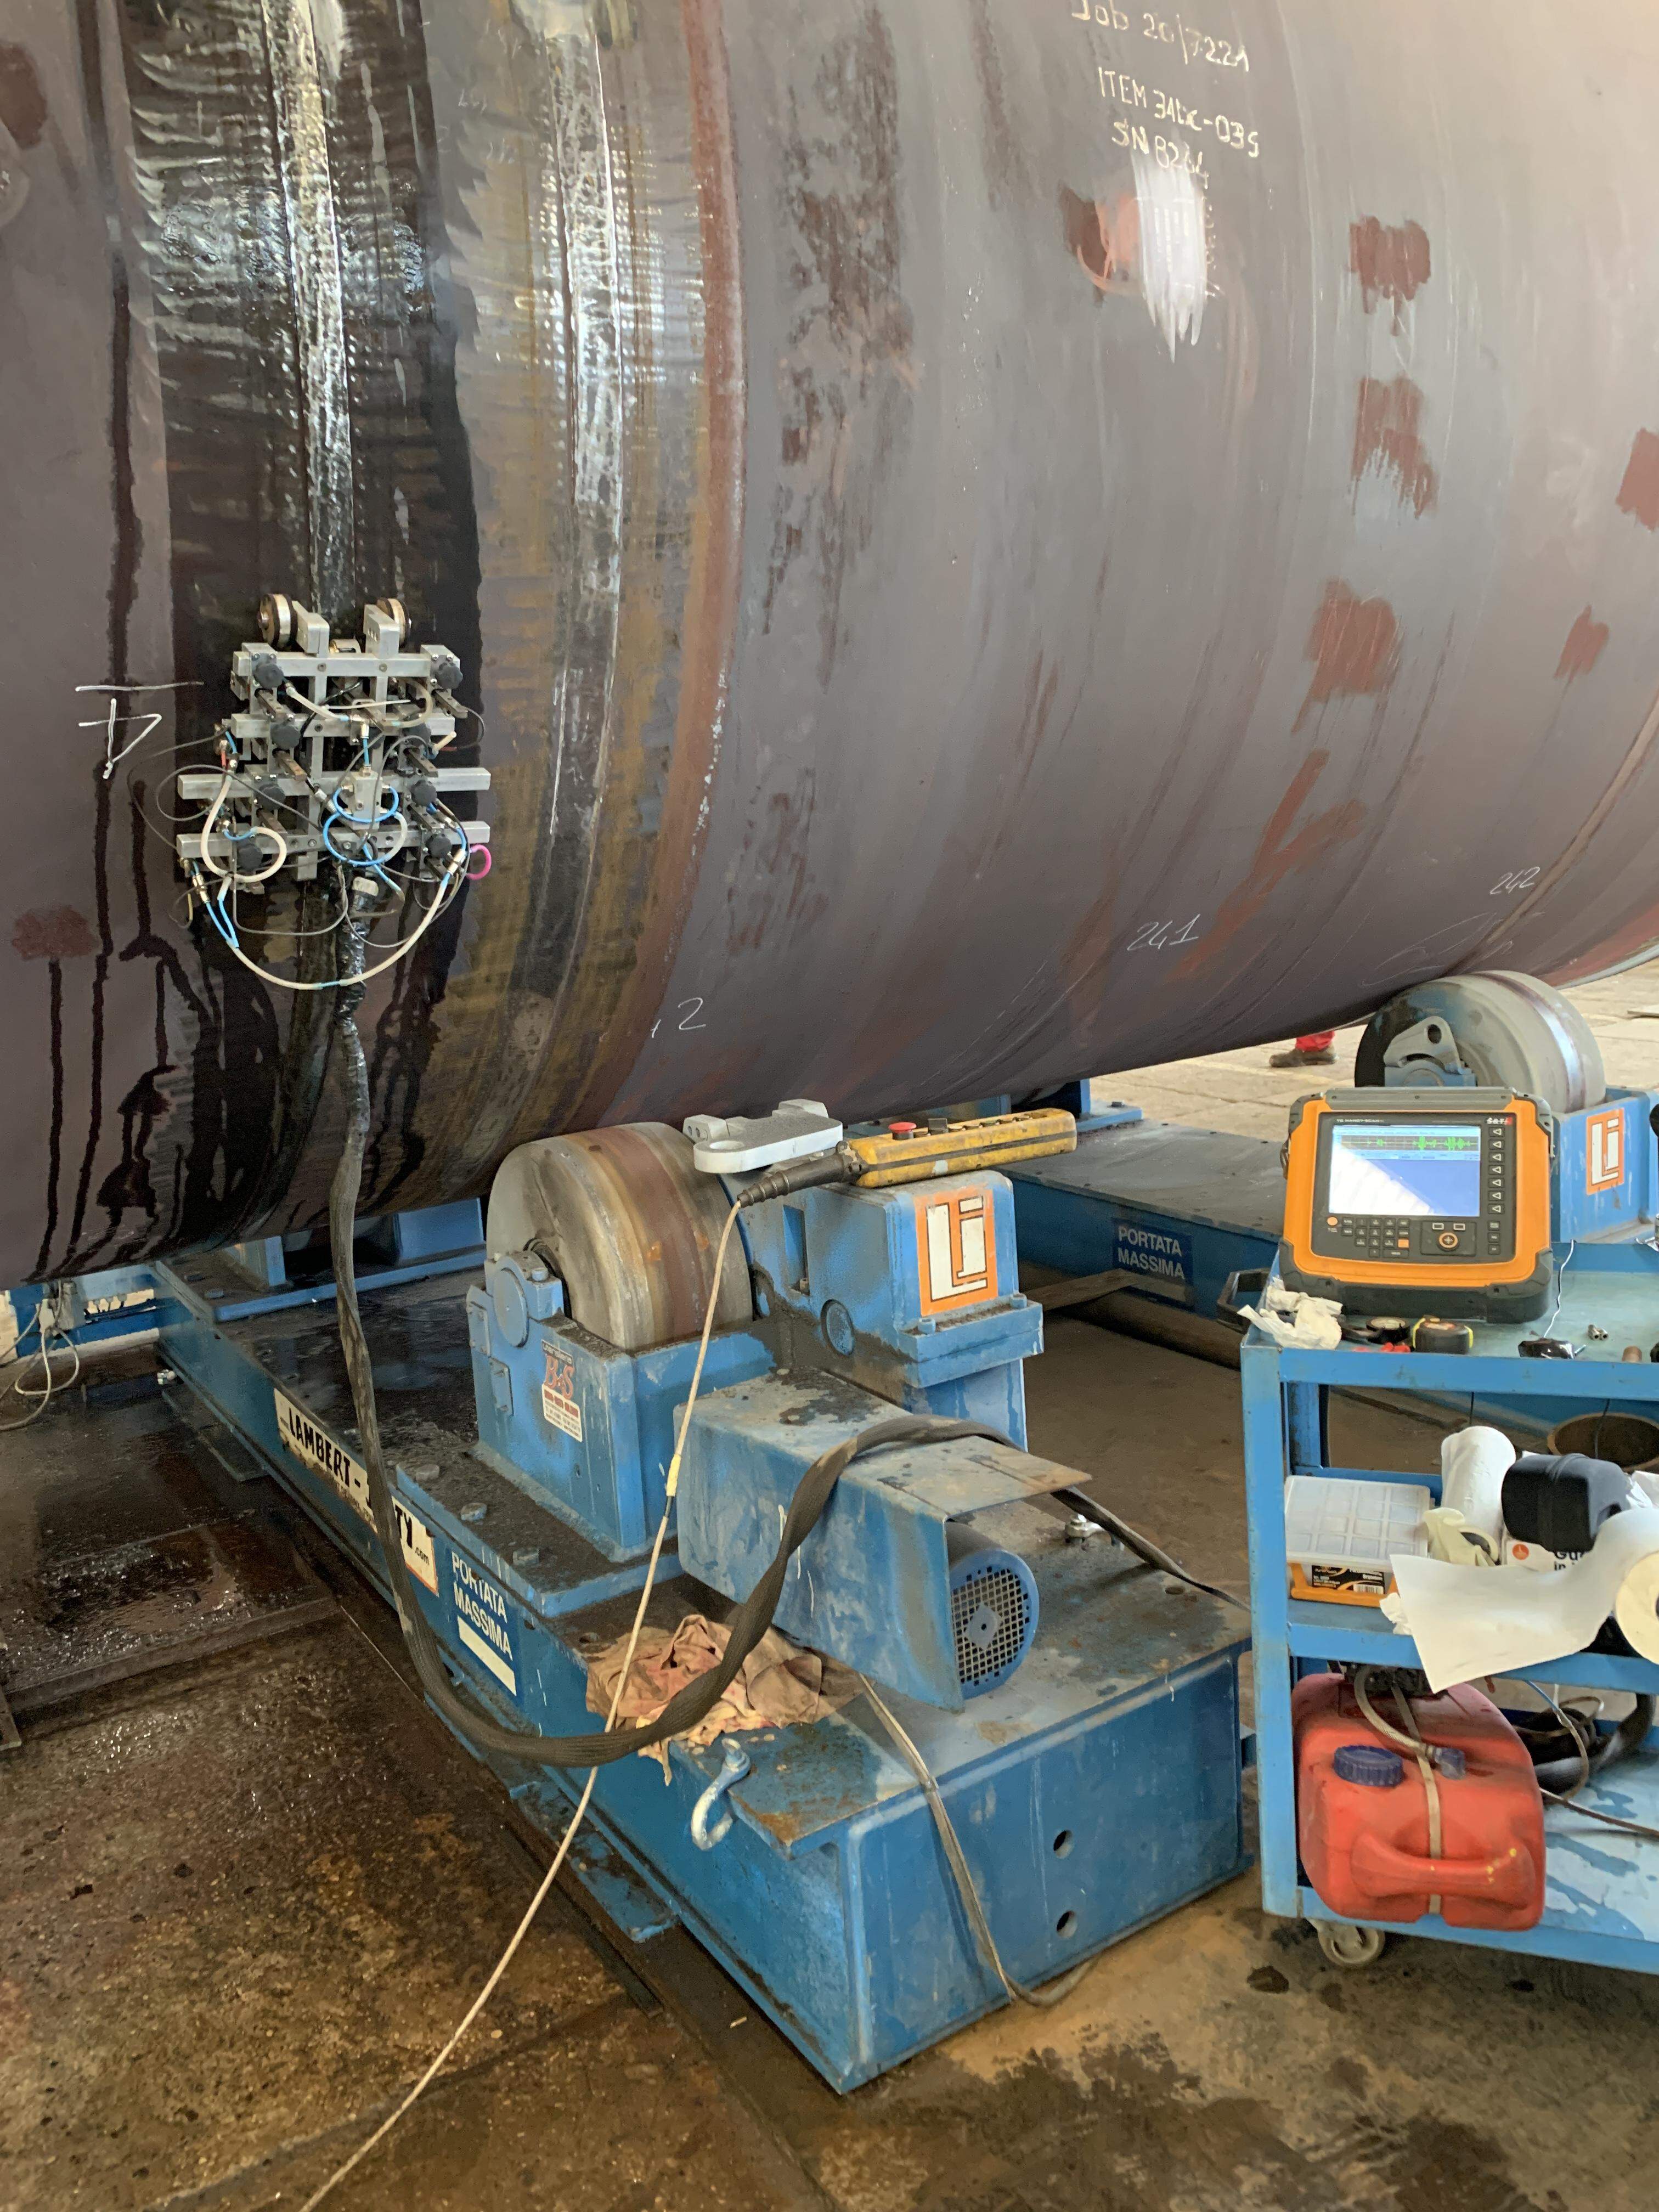
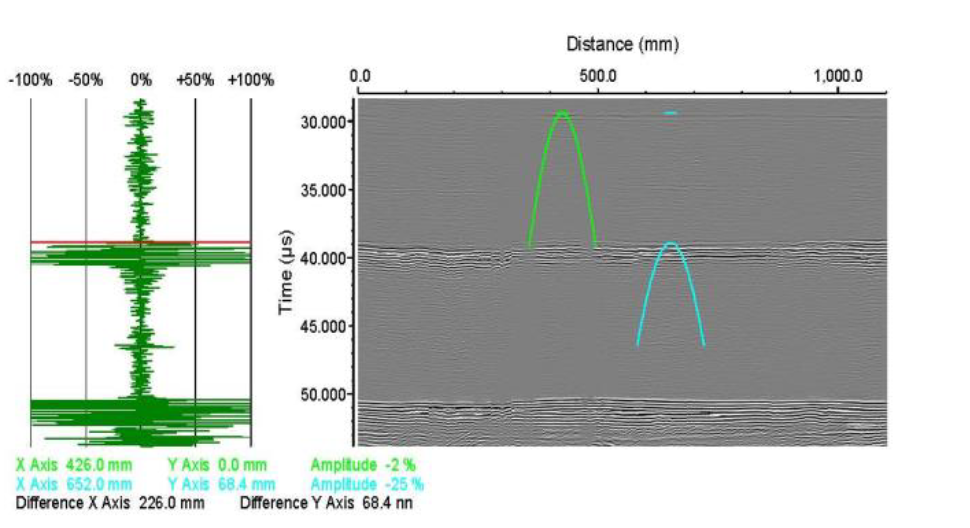
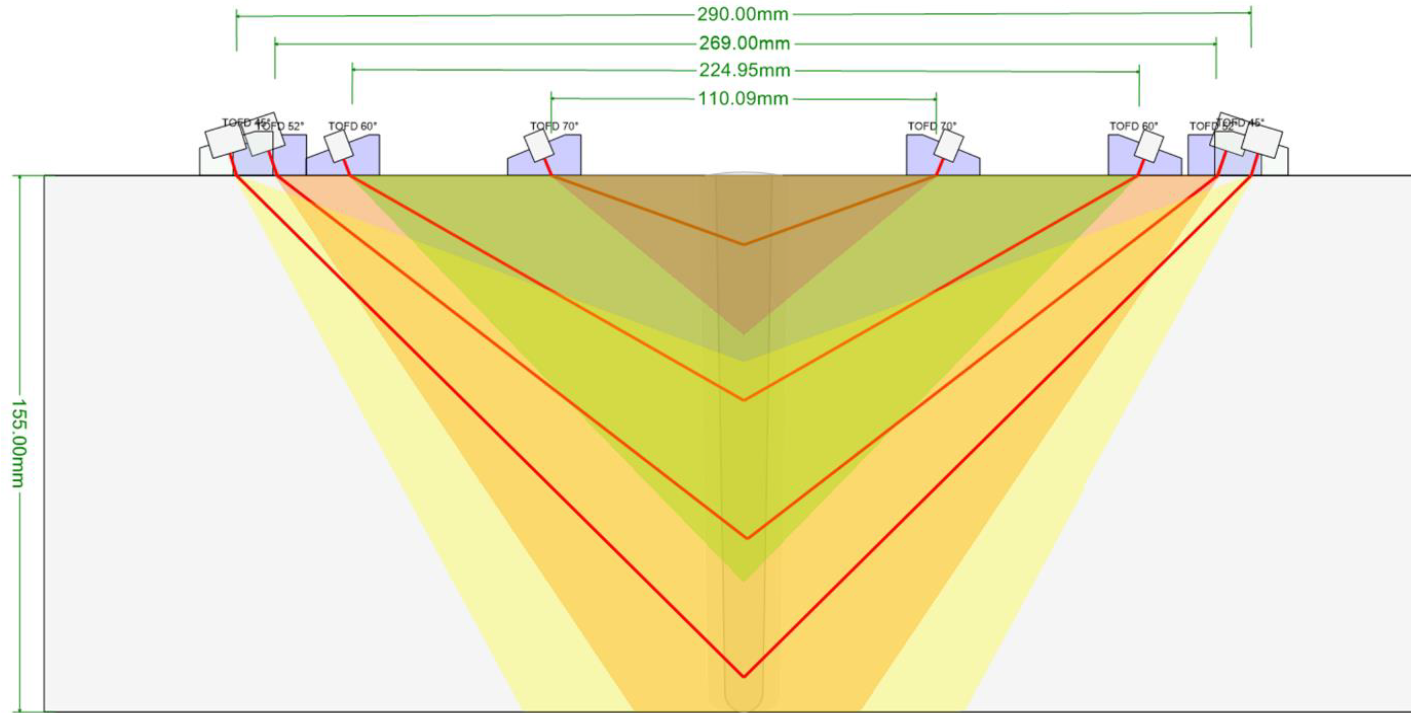

It’s commonly used for the examination of girth welds of pressure vessel, heat exchangers and big bore piping. The result is given in real time and this reduce the normal gap between Radiography and radiography results. The scanner allow to scan with up to 5 transducers couple, in order to control all the welded volume in one pass only.
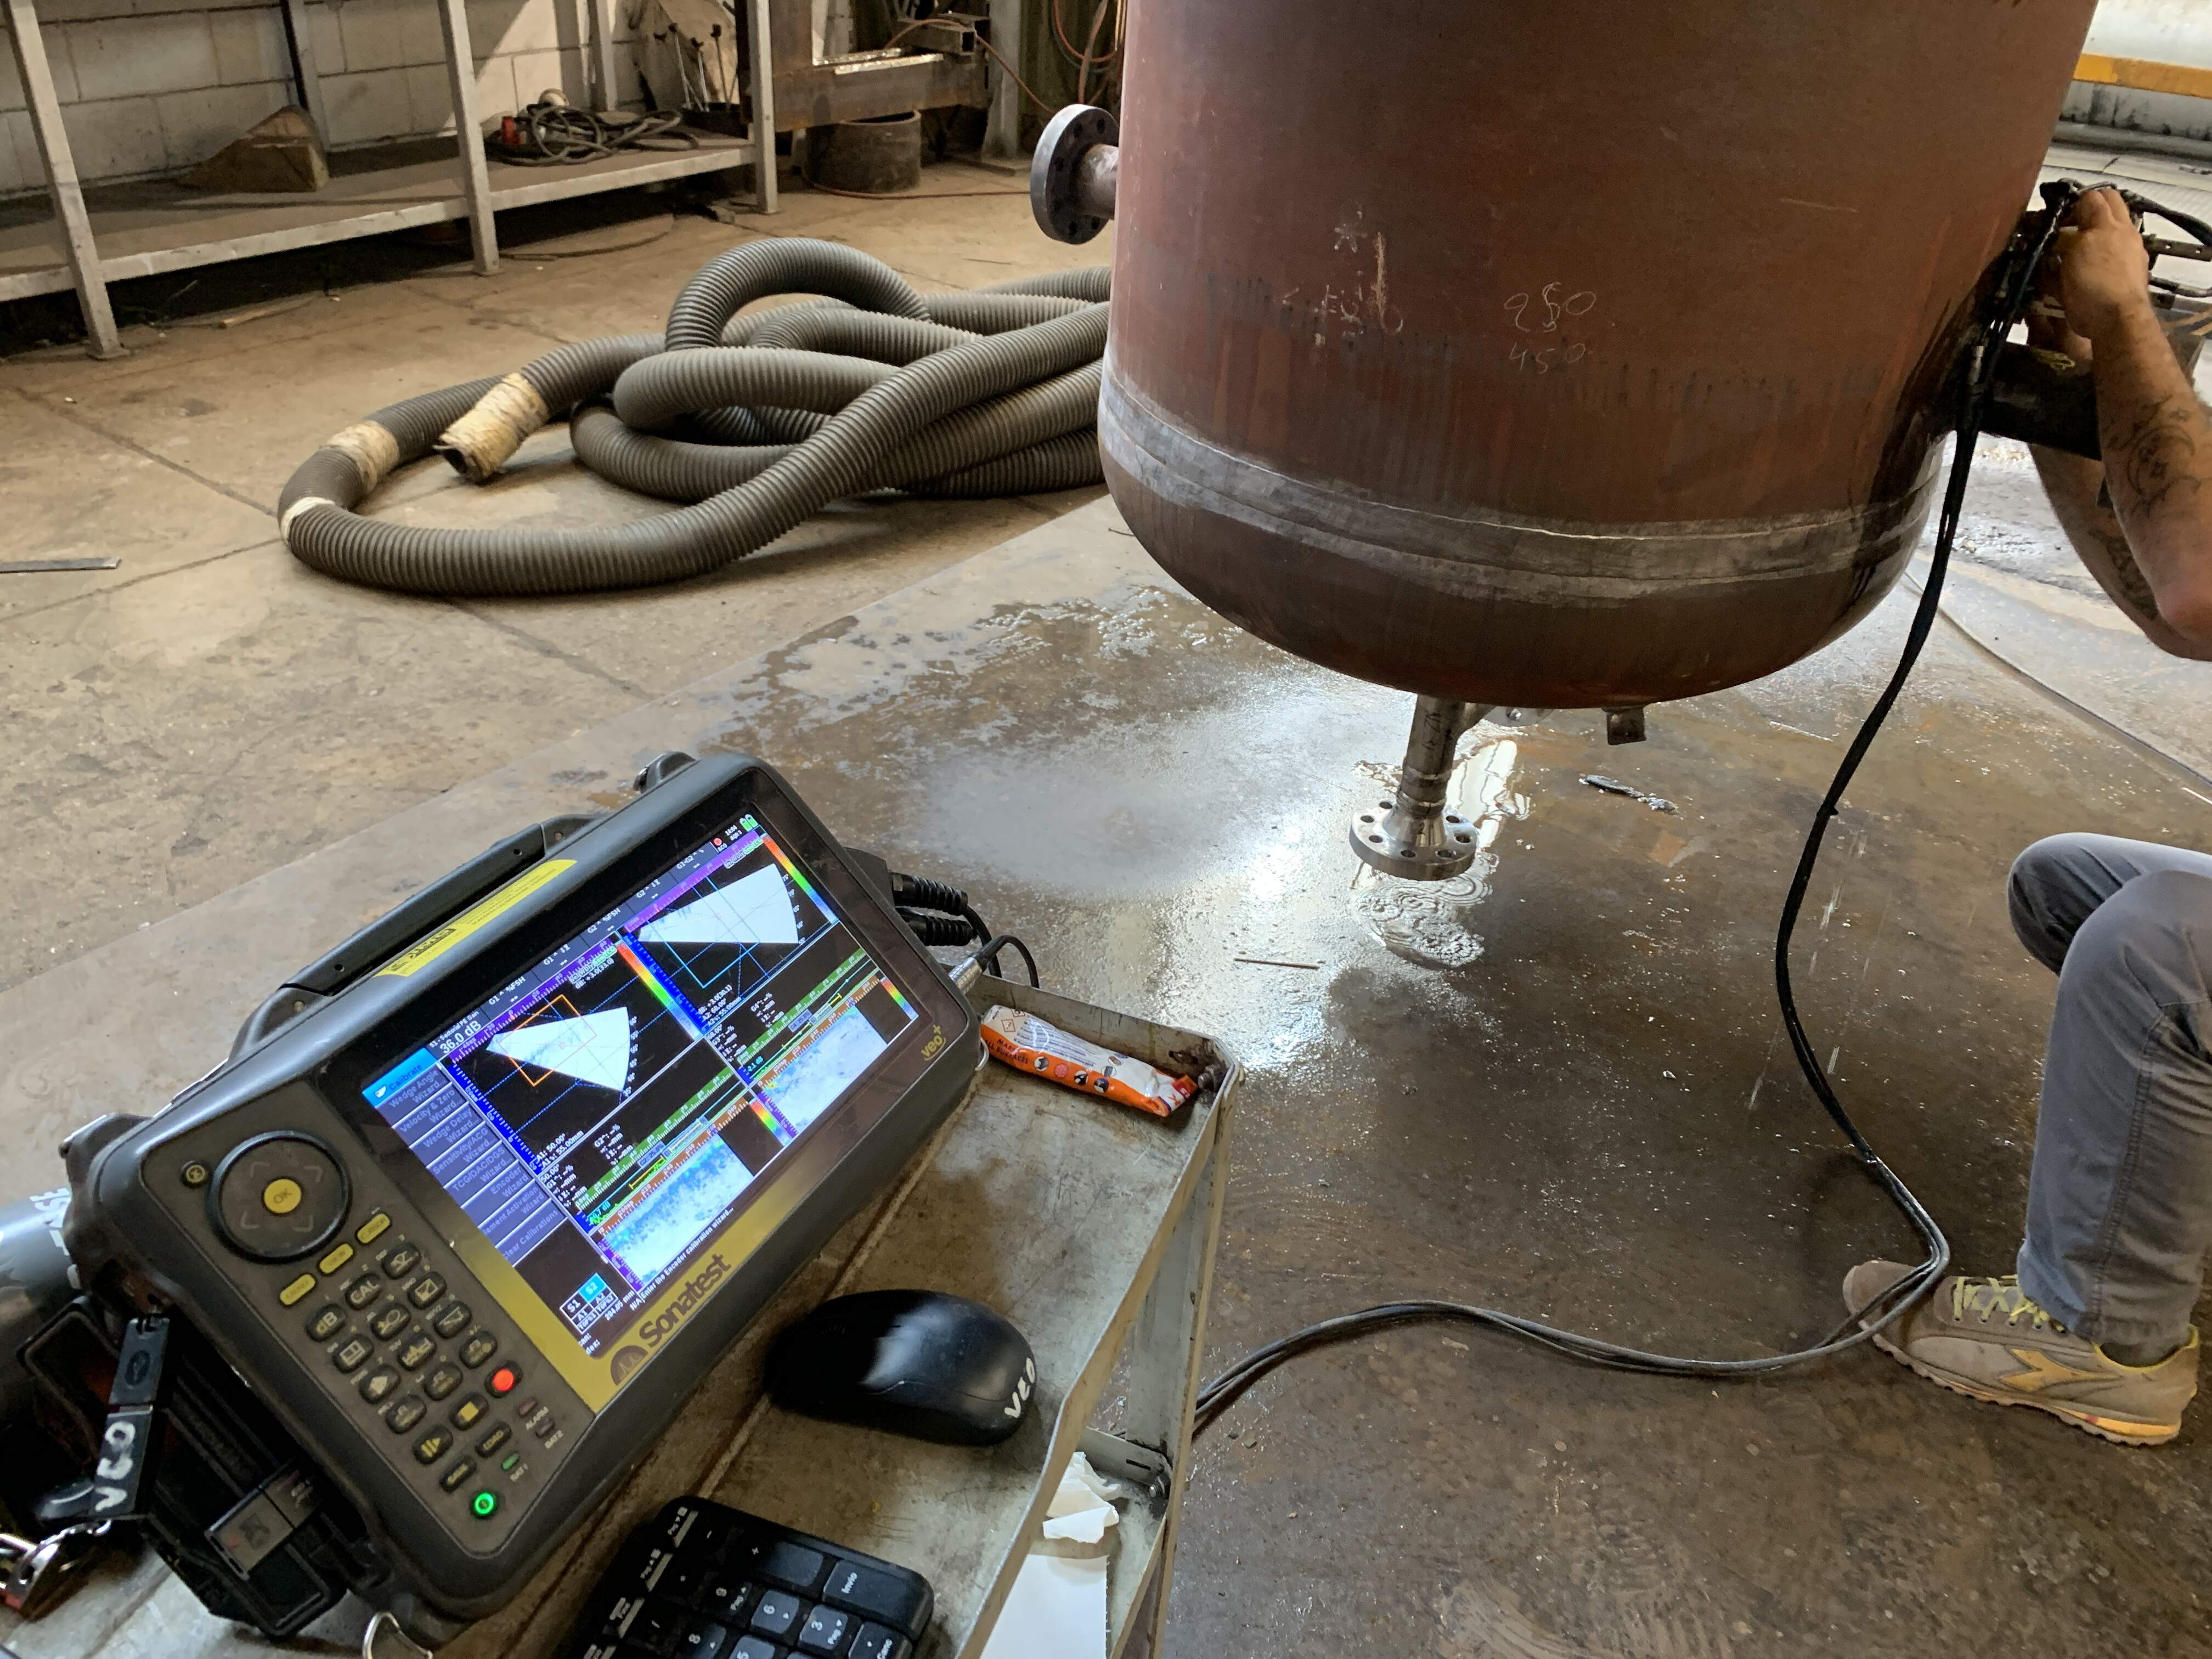
This technique is applied to replace the radiography (butt weld joints) or to scan nozzle to shell weld . It can also be applied when TOFD is not possible due to geometric restrictions. It’s applied from 6 mm of wall thickness and above.
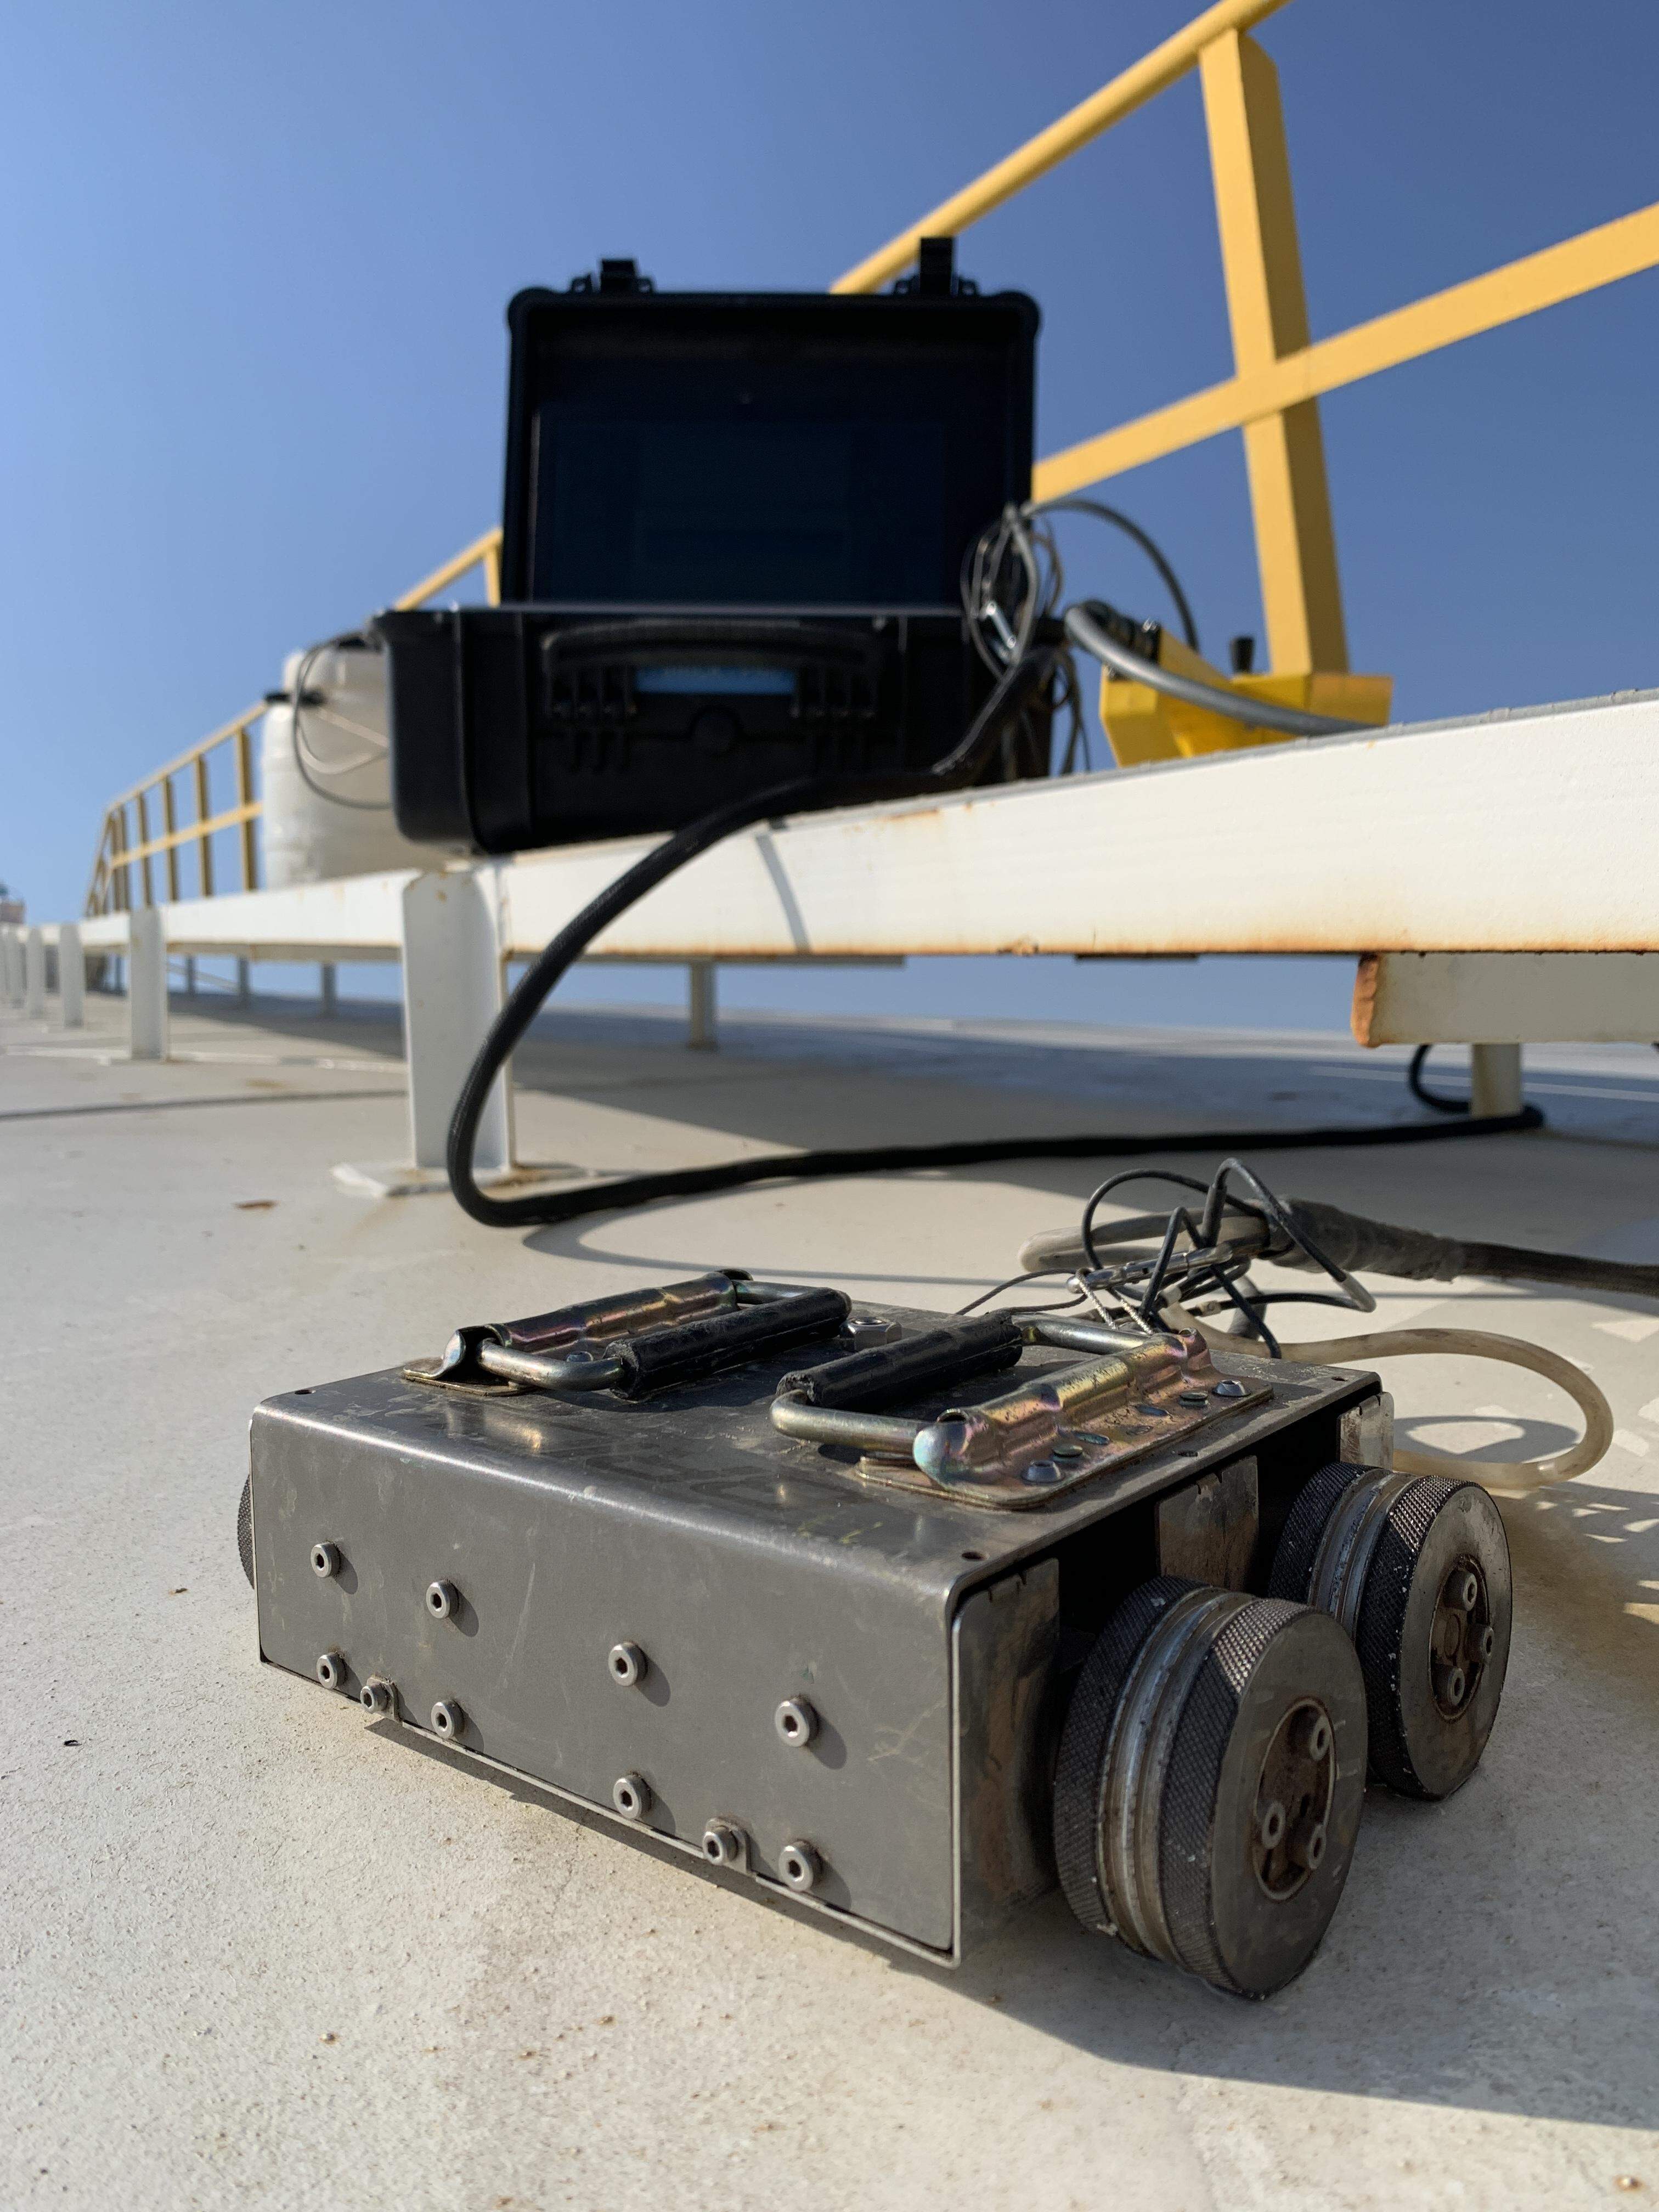
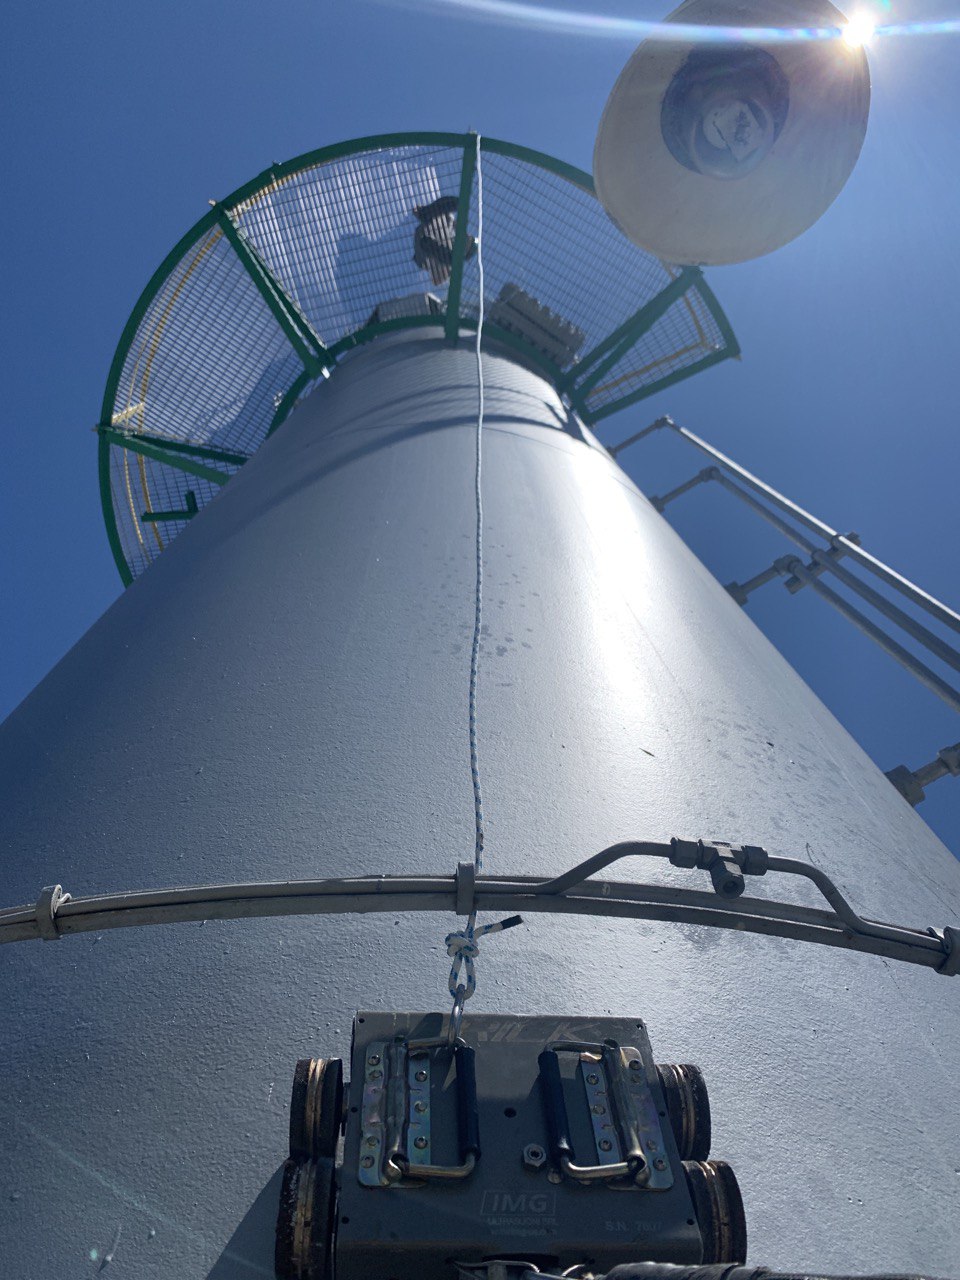

A magnetic motorized trolley with 4 independent motors, with a UT probe on board in continuous contact with the surface under examination. It is designed to follow the profile of flat surfaces. Combined with the UT-profiler software, it allows B-scan scanning of the ferrule in order to check the residual thickness.
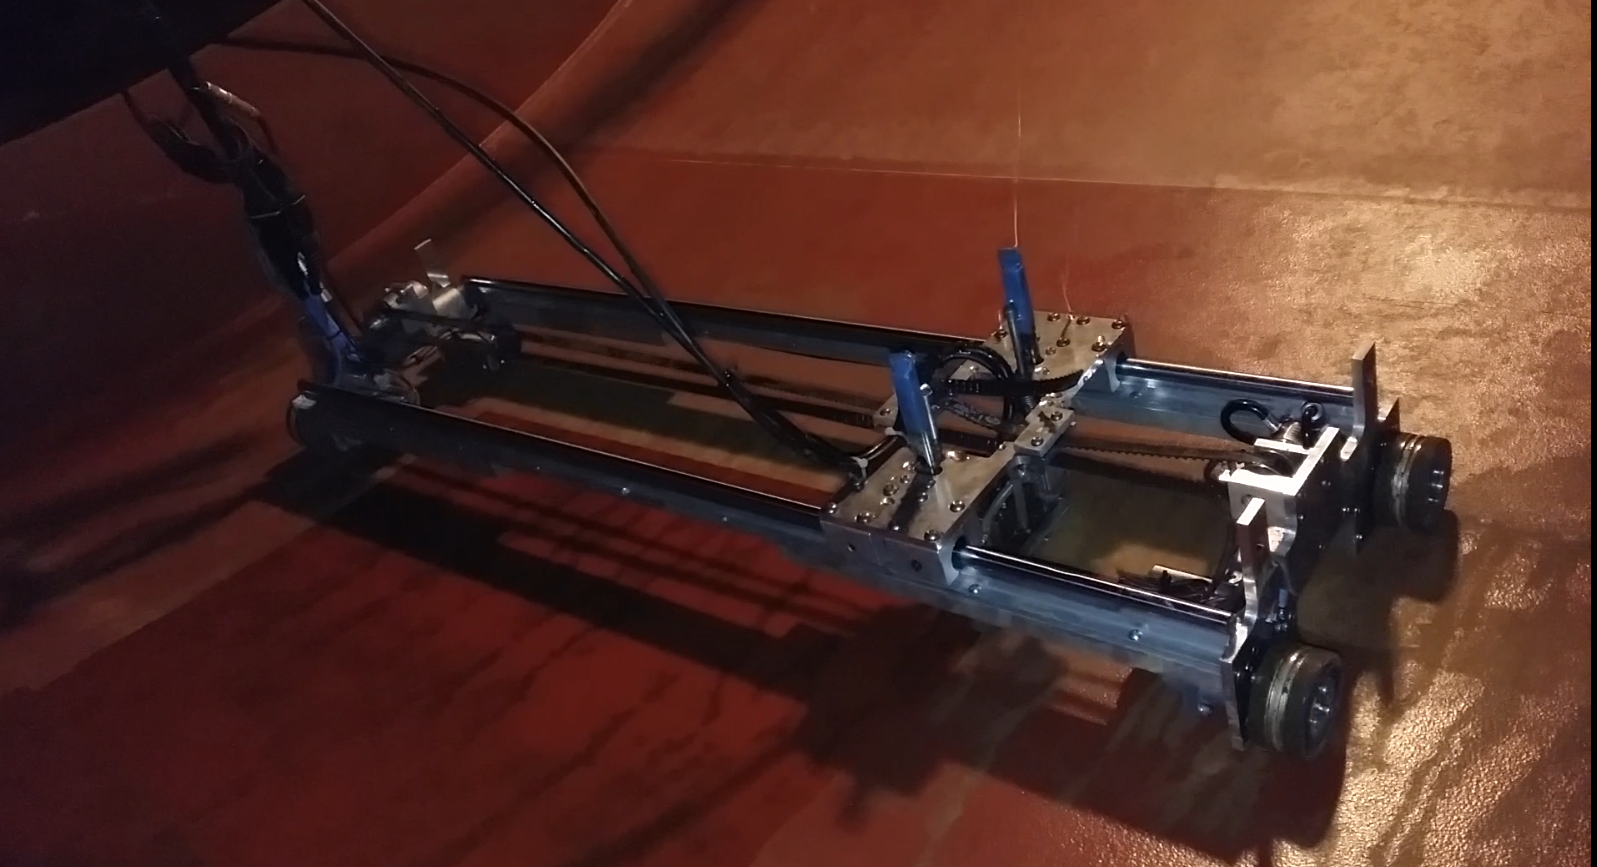
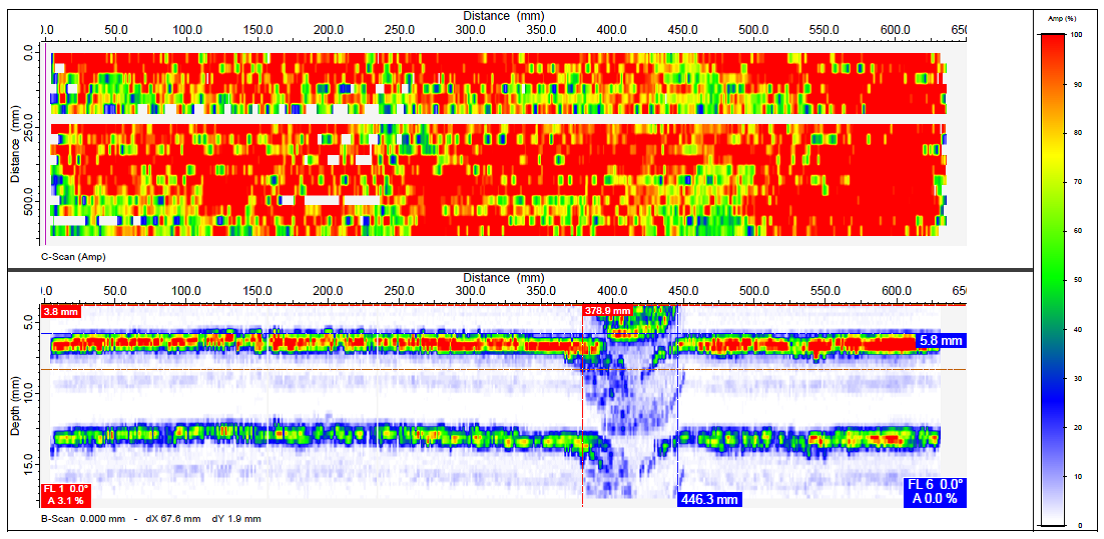
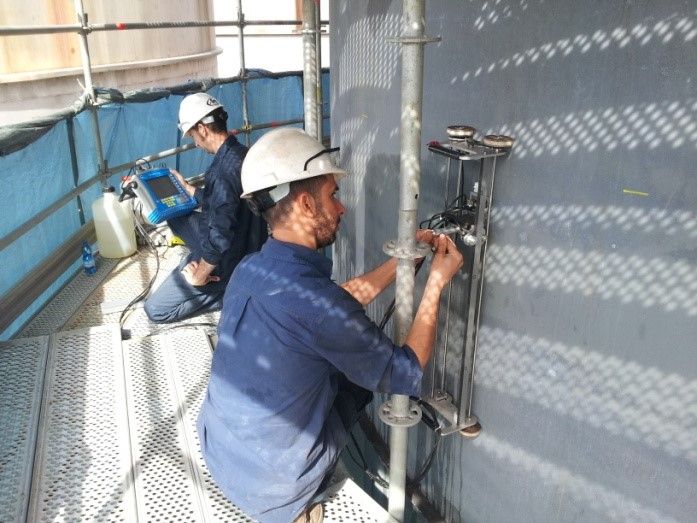
It’s commonly used to determine the status of the corrosion on shell, heads, piping, ect. Can also be applied to verify the presence of step wise cracks or to monitor the progression of these discontinuities. The output is self explaining and allow o determine exactly the depth of the corrosion or the cracks, as showed in the picture.
The Total Focusing Method (TFM) is based on the same orientation and focusing approach as conventional phased array (PAUT), only that, the focusing is applied in the whole area of interest (the "TFM zone), not only at a specific depth; as a result, there will be a better definition of the scan than the Phased array.
P.I. 01338800384
SdI code: BA6ET11
Via F. Luigi Ferrari 24/C
Ferrara
44122
Italia
Studio V.M. S.r.l. ©